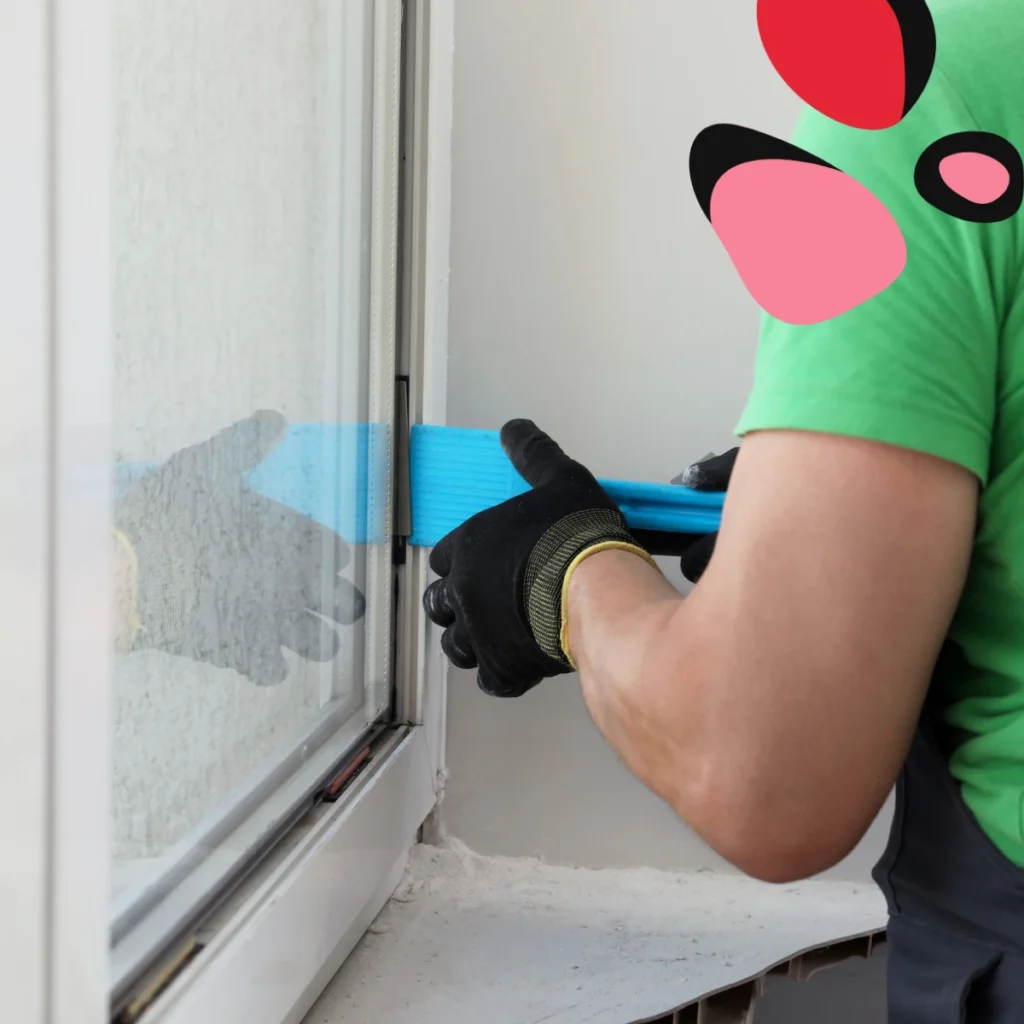

The Beginner’s Guide to Installing Secondary Glazing at Home
Table of Contents
Secondary glazing is an excellent, cost-effective solution for improving your home’s thermal efficiency and noise reduction without replacing your existing windows. It involves adding a discreet, second pane of glass or plastic inside your current window frame. If you’re a DIY enthusiast in the UK looking for a weekend project that will make a tangible difference to your home comfort and energy bills, this guide is for you.
Why Choose Secondary Glazing?
Before diving into the “how-to,” it’s worth understanding the compelling reasons why secondary glazing is a smart choice for many homeowners, especially those with period properties or those living near busy roads.
Superior Insulation and Draught Reduction
One of the primary benefits is the significant improvement in thermal insulation. By creating a sealed air pocket between the existing window and the new pane, secondary glazing acts as an effective thermal break. This dramatically reduces heat loss through the glass, keeping your home warmer in the winter and potentially lowering your heating costs. Furthermore, it’s highly effective at sealing up those pesky draughts that standard windows often let in.
Excellent Noise Reduction
If traffic, aeroplanes, or loud neighbours are a constant bother, secondary glazing offers acoustic benefits that rival expensive double-glazing replacements. The gap between the two panes helps to dampen sound waves, making your living space noticeably quieter and more peaceful.
Preservation of Original Windows
For homeowners in listed buildings or conservation areas, replacing original windows is often impossible or prohibitively expensive. Secondary glazing provides a practical solution that preserves the aesthetic and historical integrity of the existing joinery while still meeting modern standards for comfort and energy efficiency.
Planning and Preparation: Essential First Steps
A successful installation starts with meticulous planning. Skipping these steps will lead to headaches later on.
1. Measuring Up
Accuracy is paramount. You need to measure the size of the opening where the secondary unit will sit.
- Measure the width in three places: top, middle, and bottom.
- Measure the height in three places: left, centre, and right.
- Use the smallest of these measurements to determine the size of your unit, ensuring it will fit without forcing it into a non-square opening.
- Always measure from the face of the window reveal or the inner frame where the unit will be mounted.
2. Choosing Your System
There are several types of secondary glazing systems, each suited for different needs and window styles:
- Sliding Units: Ideal for vertical sash windows, allowing easy ventilation. They slide horizontally or vertically.
- Hinged Units: Suitable for casement windows, providing full access to the original window for cleaning or opening.
- Fixed Units: Best for windows that are rarely opened, offering the maximum draught-proofing and sound insulation.
- Magnetic/Plastic Film Kits: The cheapest and simplest option, often using clear plastic sheeting and magnetic strips, suitable for small windows or temporary fixes.
Most DIYers opt for pre-fabricated aluminium-framed units, which come with the necessary fixings.
3. Gathering Tools and Materials
Before you begin, ensure you have the following:
- The chosen secondary glazing unit.
- A drill and appropriate drill bits.
- A screwdriver or impact driver.
- A spirit level to ensure the frame is straight.
- A tape measure and pencil.
- Caulk or sealant and a caulk gun.
- Safety gear (gloves, safety glasses).
The Step-by-Step Secondary Glazing Installation Process
While specific instructions will vary slightly based on the system you choose, the core steps for a standard framed unit remain consistent. This guide focuses on fitting a simple, framed sliding or fixed unit.
Step 1: Prepare the Opening
Ensure the existing window reveal or frame where the secondary unit will sit is clean, dry, and free of loose paint or dust. If necessary, sand down rough edges or fill any large gaps in the woodwork. A smooth, clean surface ensures a solid seal and a professional finish.
Step 2: Assemble the Frame (If Necessary)
Some kits come flat-packed. Follow the manufacturer’s instructions to assemble the outer frame. This usually involves connecting the corner pieces with screws or corner blocks. Lay the frame flat on a clean surface to prevent scratching.
Step 3: Positioning and Fixing the Frame
Carefully lift the assembled frame into the window opening. Use the spirit level to check that the frame is perfectly level and plumb (vertical). This is critical for the unit to slide or open smoothly.
Once aligned, mark the fixing holes onto the surrounding frame or reveal using a pencil. Remove the unit, drill pilot holes where marked, and then reposition the frame. Secure the frame to the reveal using the screws provided. Do not overtighten, as this can warp the frame.
Step 4: Installing the Glazing Panels
With the frame securely in place, it’s time to insert the moving or fixed glazing panels.
- Sliding units typically require you to tilt and slot the panel into the top rail first, then lower it onto the bottom rail.
- Fixed units are often secured with simple retaining clips or beading once slotted into place.
Test any sliding or hinged components to ensure they move freely and lock correctly. Adjust the frame if necessary until movement is smooth.
This final stage of the secondary glazing installation is often the most rewarding, as you can instantly feel the unit begin to seal out the cold air and dampen the noise.
Step 5: Sealing and Finishing
For maximum efficiency, you must seal the perimeter of the outer frame.
- Apply a thin, continuous bead of white or clear decorator’s caulk between the outer edge of the secondary glazing frame and the wall or window reveal.
- Smooth the caulk with a wet finger or a specialised tool for a neat, professional line. This step eliminates any remaining air gaps, ensuring optimal thermal and acoustic performance.
- Clean the glass panels, remove any protective films, and admire your newly insulated, quieter window!
Conclusion
Installing secondary glazing is a powerful home improvement that offers a rapid return on investment through energy savings and enhanced living comfort. It’s a straightforward DIY task that requires careful measuring and methodical execution. By following these steps, you can successfully fit your own system, preserving your home’s character while bringing its performance into the 21st century. Enjoy the quiet and the lower heating bills!